
Lumpiang Shanghai
Lumpiang Shanghai.
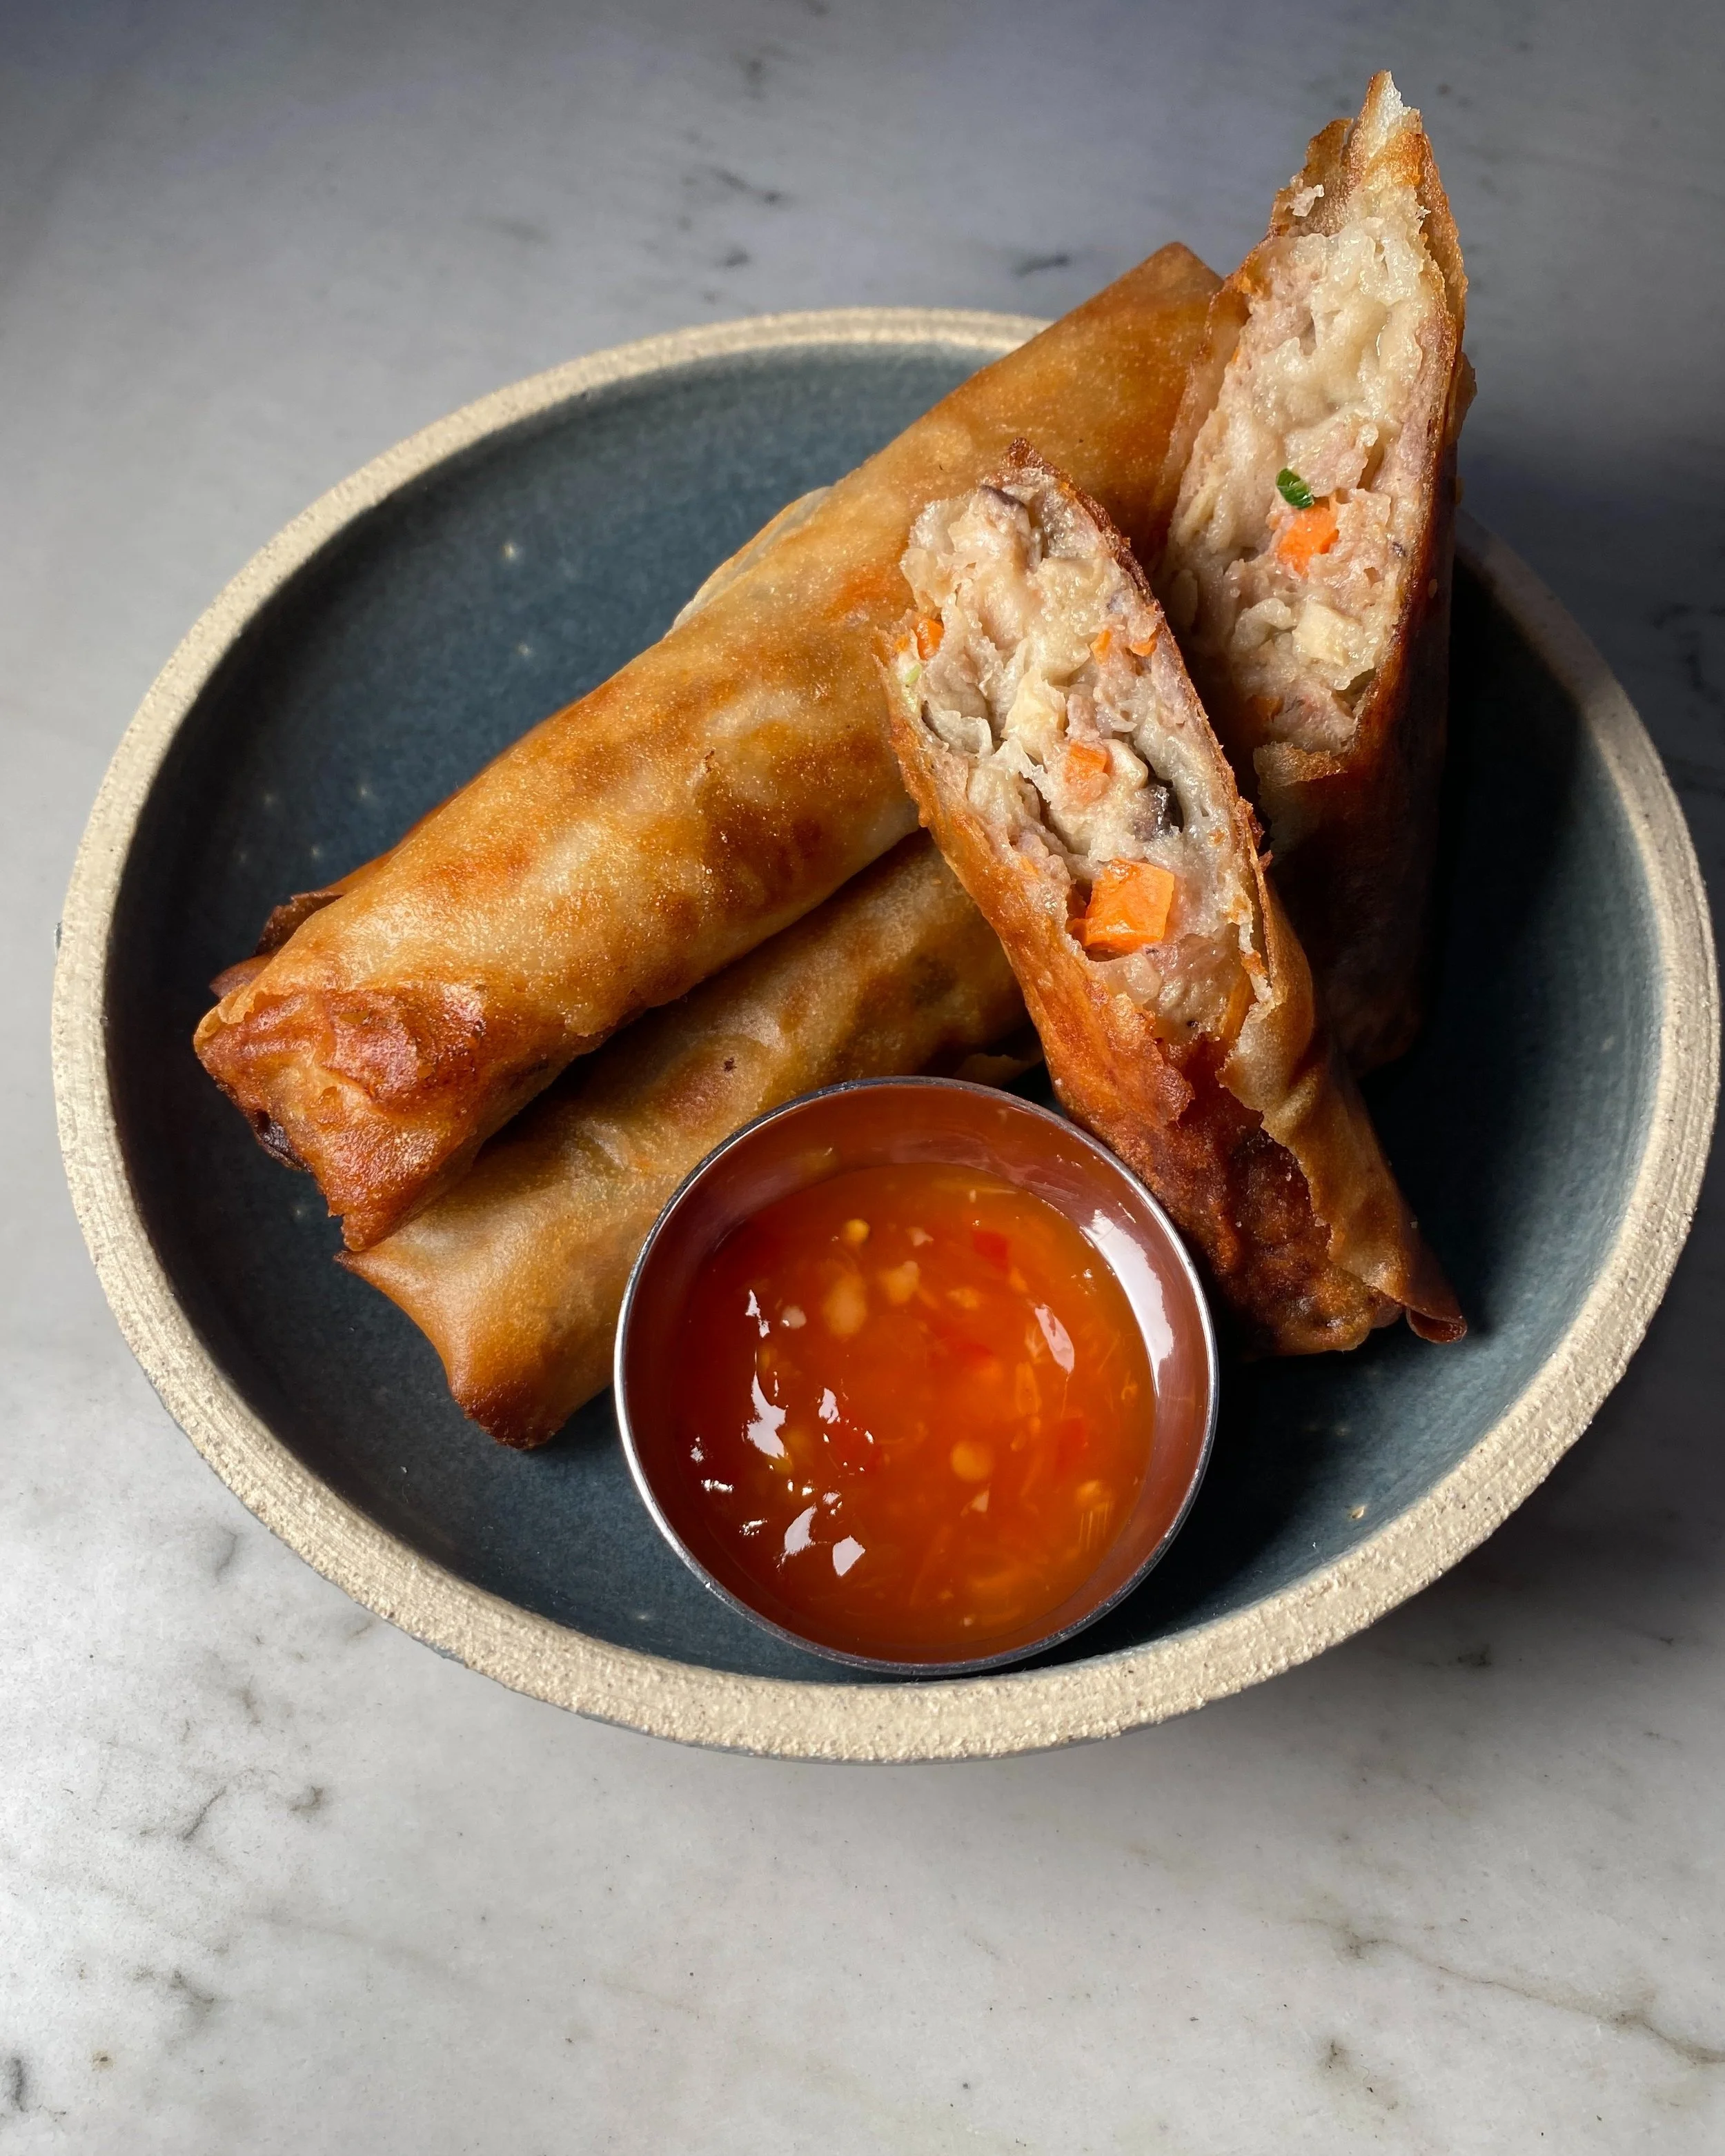
Like Pancit, Lumpia is one of those ubiquitous party dishes that people can easily identify when talking about Filipino food. It is actually a dish that has many variations but one of the most popular and beloved versions is Lumpiang Shanghai, a cigar shaped Lumpia with a ground meat filling. Despite its name, it does pull from both Chinese and Spanish culture. It early origins are a flour tortilla wrap that evolved into a rice flour wrap as interpreted by Chinese migrants in the Philippines.
The Filipino Lumpia has a thinner wrapper than the typical Chinese egg roll but that nuance is probably not as pronounced in the US as many commercial wrappers found are multi purpose serving a few Asian cultures. You can find the thinner crepe version commercially if you hunt around or you can make it yourself. It is amazing when fresh wrappers are made and are used for a fresh Lumpia or Lumpiang Sariwa. This version is filled with delicious vegetables and is not fried and served with a sweet garlic and peanut sauce. The more common Lumpia I grew up eating is actually a vegetable Lumpia or Lumpiang Togue. It’s a slightly thicker Lumpia with an amazing vegetable medley that includes mung bean sprouts, cabbage, carrots, potatoes, scallions, green beans and fried tofu. Sometimes it may include shrimp and ground pork to make it more substantial. This was definitely an amazing way to eat vegetables as a kid.
When Jane and I set out to make Lumpiang Shanghai, we didn’t have a formal recipe, because like most dishes you learn from your family by watching and doing. Measurements are hard to come by because they are never written down. Thankfully, we have Tita Lydia who came to the rescue. We did our best to take note and give you a place to start but like most Filipino food, the take away is the method. Feel free to add ingredients and also season to your taste and make it your own.
Regarding dipping sauces, there are many schools of thought on this — from vinegar based to a more Chinese sweet and sour sauce and many more in between. Whether it’s homemade or store bought, there is no judgement here. Making Lumpia is laborious enough. We include a few options in the ingredients below for dipping sauces that we love.
❤️Tricia

INGREDIENTS
LUMPIA
3/4 lb Ground Pork
1/2 lb Raw Shrimp, peeled, deveined and finely diced
1/2 cup Shiitake Mushrooms, finely diced
1/2 cup Carrots, finely diced
1 small can Water Chestnuts, finely diced
1/2 cup Scallions or Chives, finely diced
3 cloves Garlic, finely diced
2 tbsp Soy Sauce
3 tbsp Fish Sauce
1 egg, to bind mixture
1 package Lumpia Wrapper
Neutral Cooking Oil, for frying
DIPPING SAUCE OPTIONS
Vinegar with black pepper, thinly sliced chili and garlic
Banana Ketchup with Sambal
NOTE: This recipe serves 4-6 as an appetizer.
METHOD
STEP 1
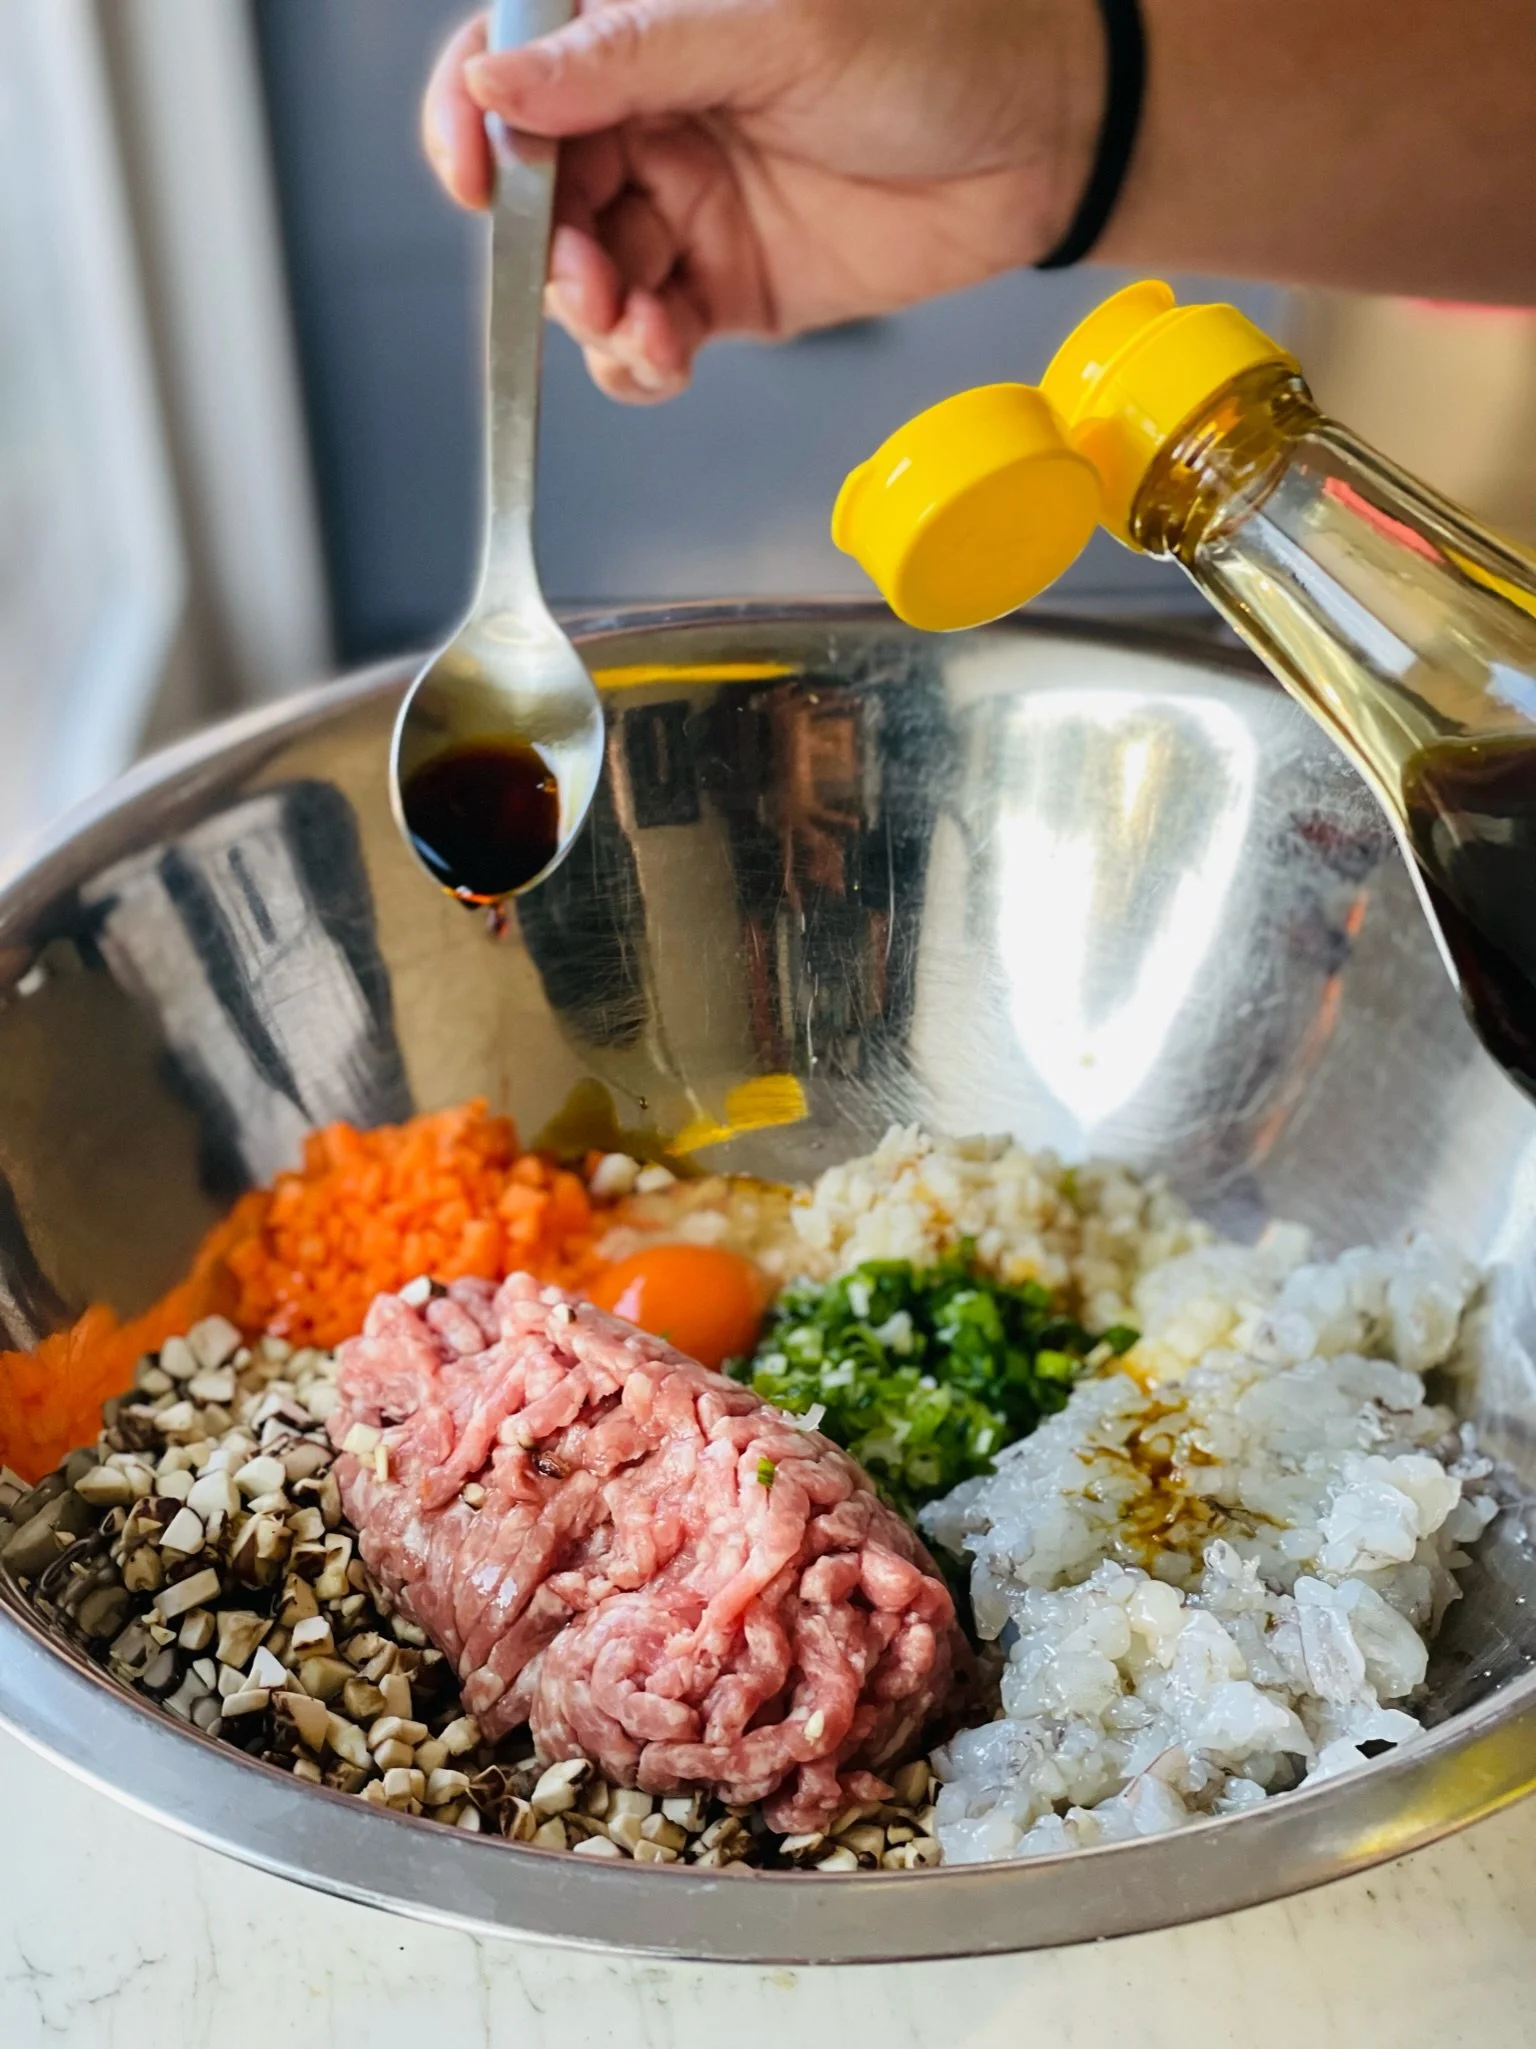
MAKE THE FILLING.
In a large bowl, combine the Ground Pork, Shrimp, Mushrooms, Carrots, Water Chestnuts, Scallions and Garlic. Mix well by hand. Season with Soy Sauce and Fish Sauce and add the egg to bind the mixture together and all the ingredients are evenly distributed and the seasoning is fully incorporated.
STEP 2
PREPARE YOUR STATION.
Prepare your area by making sure you have the following:
Large platter to place the finished lumpia
Wet paper towel to cover the lumpia so they don’t dry up
Cornstarch slurry (1:1 cornstarch to water mixture) or an Egg wash that will act as the paste to seal your lumpia
Flat surface like a cutting board or a large plate to roll your Lumpia on
Lumpia Filling
Lumpia wrappers. It helps to separate your Lumpia wrappers before you start, a few at a time, so the process can go by a little faster
Teaspoon

STEP 3
WRAPPING THE LUMPIA.
On your cutting board or plate, place a wrapper flat like a diamond with a pointed edge toward you. About 1/3 of the way down, scoop 2 tsp of the filling and roll into a horizontal log about the size of a cigar. Take the pointed edge closest to you and fold the wrapper tightly over the filling, making sure there are no air pockets. Fold the left and right sides in then tightly roll the Lumpia away from you. Before rolling to the opposite edge, apply a bit of your paste to the pointed edge then roll the Lumpia all the way so it is tight and sealed. Repeat until the mixture or the wrappers are finished.
NOTE: It is common that the first few Lumpia you roll may not turn out to be your best. This takes a bit of practice so keep on rolling and you will get better. Additionally, you may find that the first few wrappers may also tear or stick together. The end wrappers can tend to dry.


STEP 4
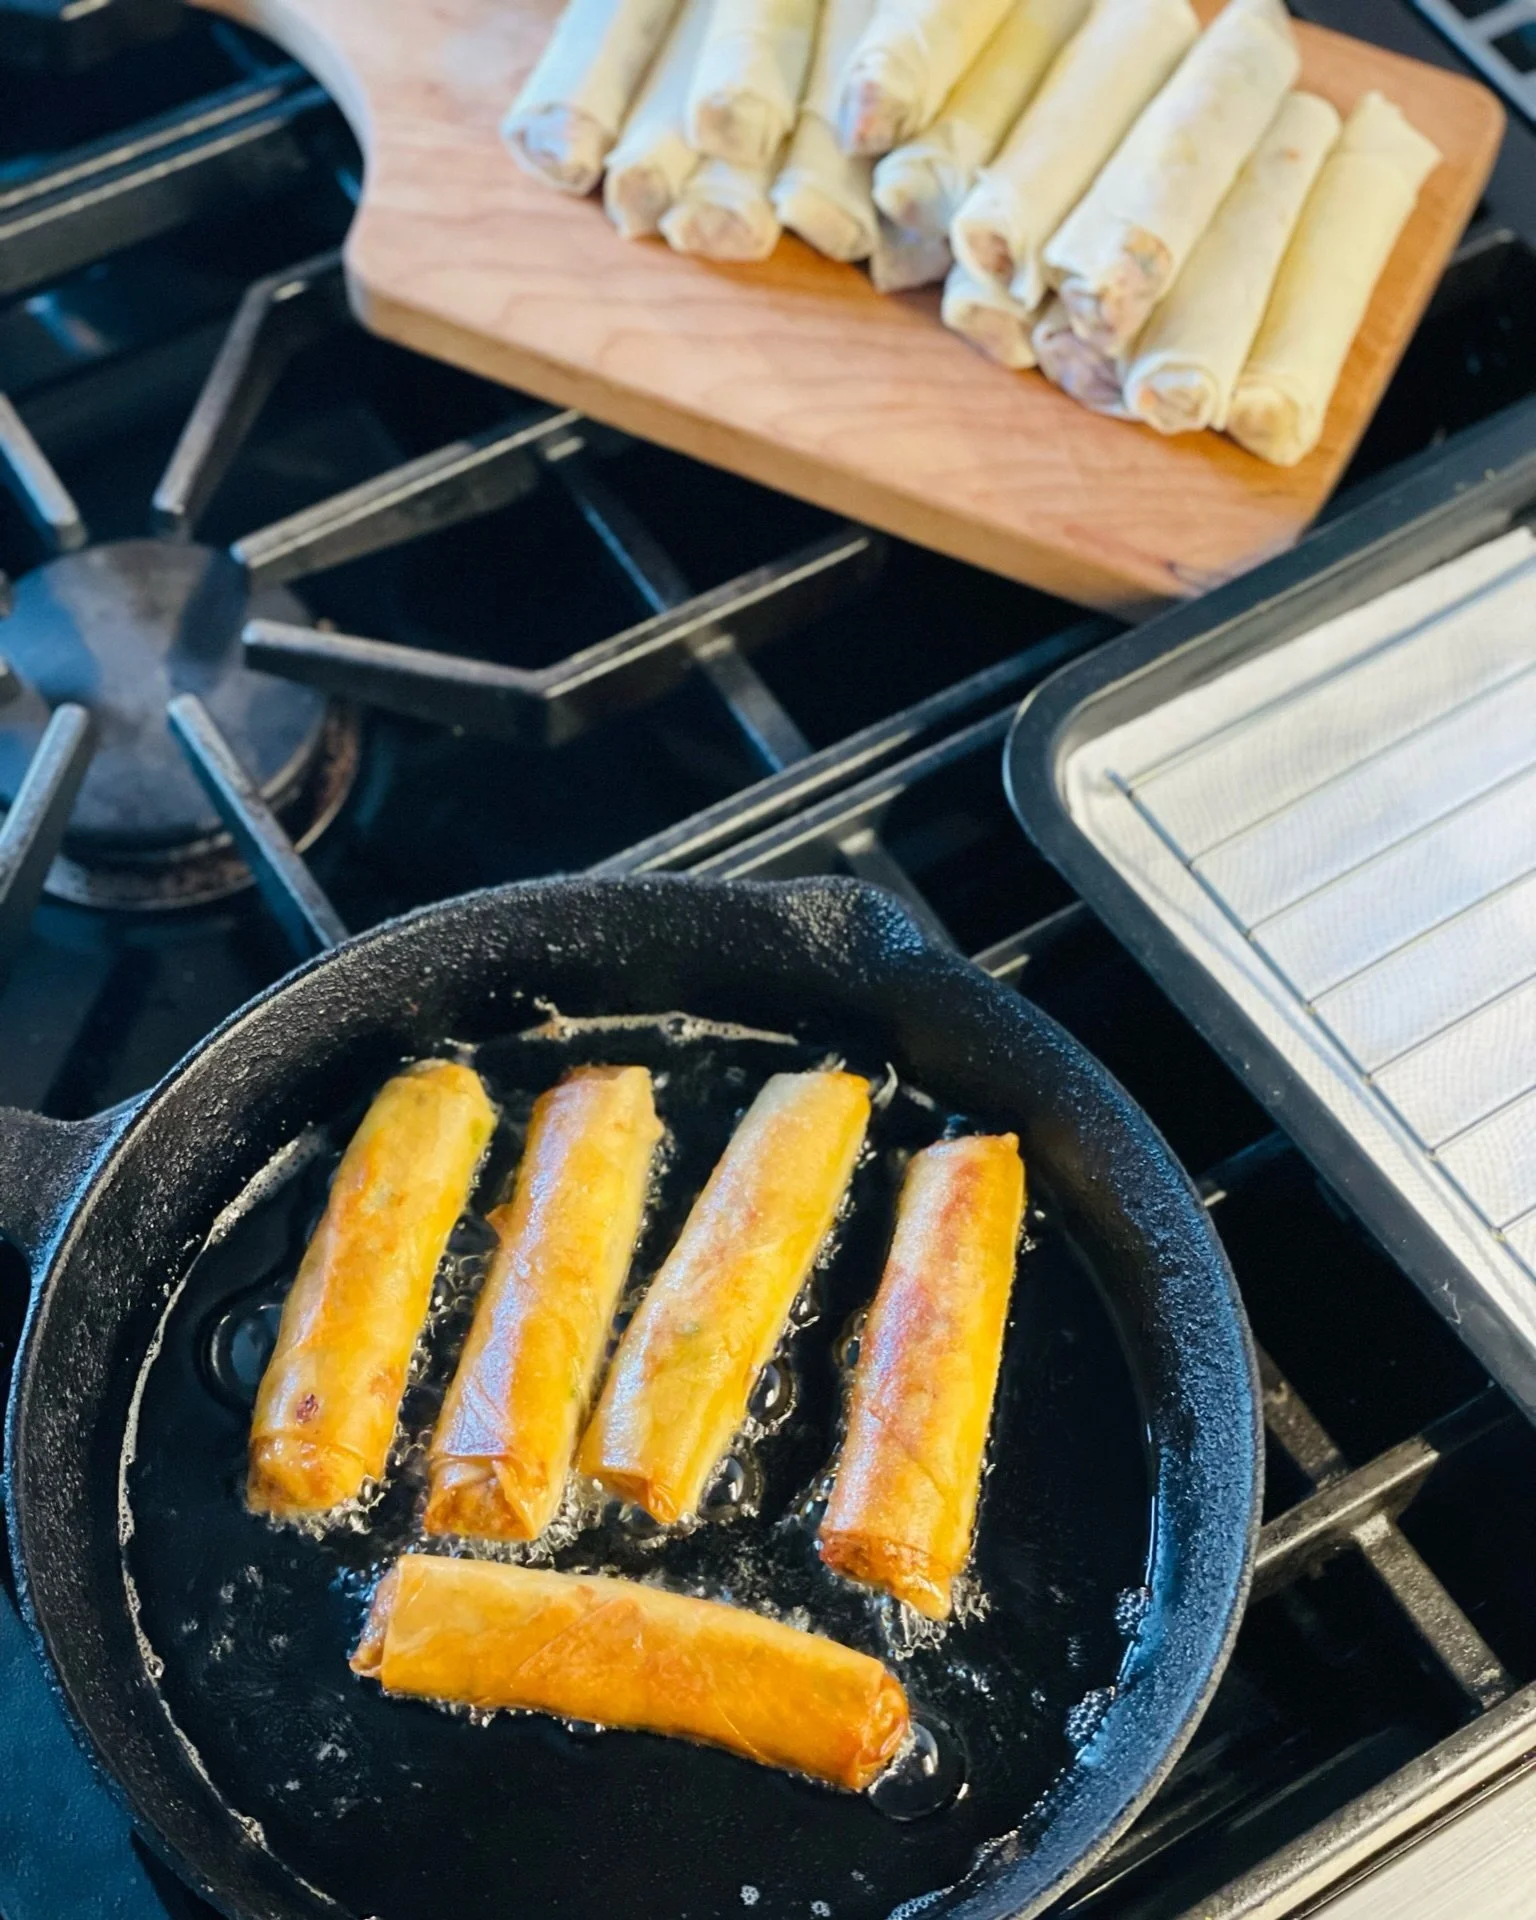
FRYING THE LUMPIA.
Prepare your frying station by making sure you have the following:
10 inch Frying Pan (cast iron or non stick)
Neutral Cooking Oil
Tongs
Lumpia
Sheet pan with a rack (or lined with paper towels if you don’t have a rack) for the finished Lumpia
Heat up your pan on medium and add about 1 cm of neutral cooking oil into the pan. Test to make sure your oil is hot (you can simply add a few drops of water to the pan to see if it sizzles). Carefully add your Lumpia into the pan so the oil does not splatter. Make sure there is room around each Lumpia, do not over crowd the pan. Stay close to the pan and flip the Lumpia over when it is golden brown. When both sides are golden, remove and place on a rack or on a paper towel to drain any excess oil and slightly cool because they are piping hot right after frying.
NOTE: We don’t love deep frying because of the amount of oil usage and also disposing the oil so we shallow fry instead using a 10 inch cast iron pan. This set up works pretty well, you will just have to flip the Lumpia over to fry both sides.

STEP 5
As soon as it has slightly cooled but still warm, serve immediately with your favorite dipping sauce and enjoy!
STEP 6
STORING EXTRA LUMPIA.
When making Lumpia, unless you are having a party, you may find that you have more wrapped Lumpia than you can consume in one sitting. You can freeze any excess in serving size portions. Simply store the desired serving size in Ziploc bags and freeze. They can keep for 2-3 months if frozen. To cook, simply thaw them out in your refrigerator the morning of your desired day and fry them up as directed above.